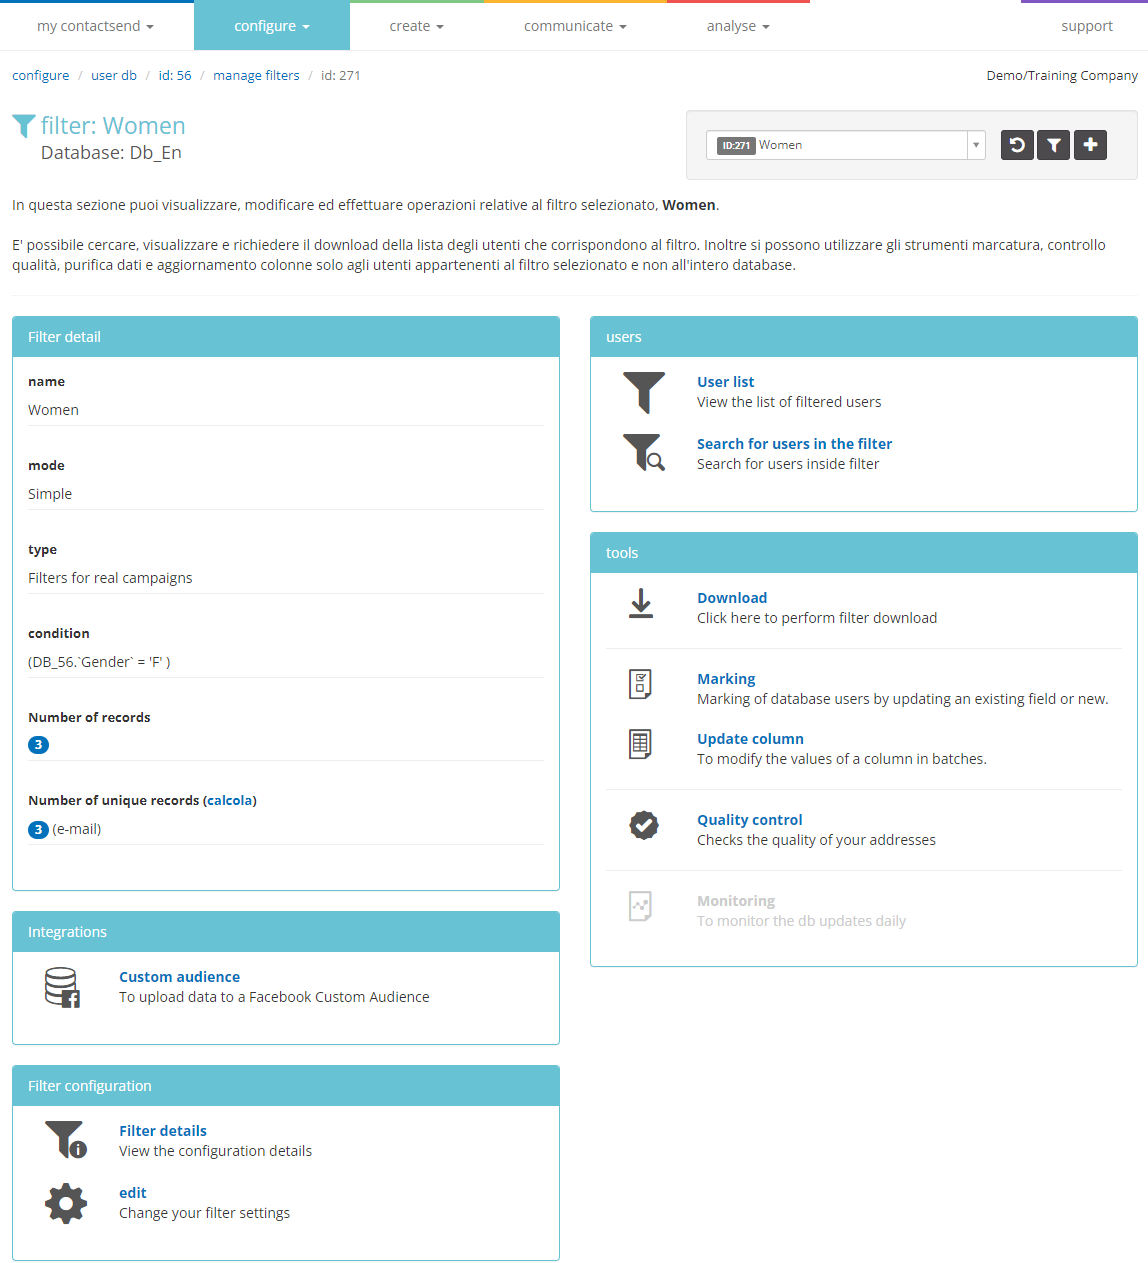
Filters
Filters are subsets of users grouped based on specific characteristics. For example, it is possible to extract certain users from the database and include them in a test filter, to be used for testing the campaign before sending to all the users in the database. Test sends are automatically sent to a maximum of 30 users (if the test filter contains more, the first 30 will be selected).
The ability to create filters is very useful. Suppose, for example, that you have a group with an Italian version and an English version for foreign customers. It will not be necessary to create two separate databases; it will suffice to create a single database with a "LANGUAGE" field and then set up a filter called, for example, "English users" that groups all the records in the database where the "LANGUAGE" field has the value "EN." When you need to send to the group in English, instead of sending to "All users," you will simply select the "English users" filter.
To create a new filter, from the database menu, click on the + Create new filter icon.
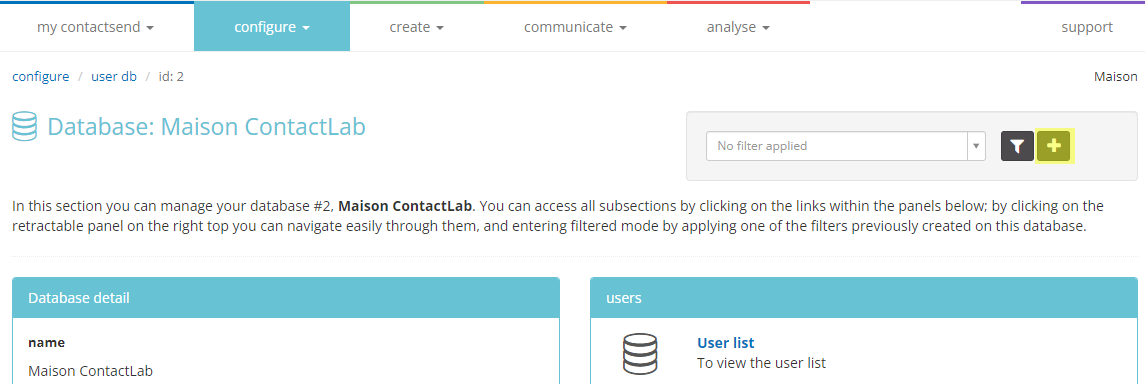
At this point, a table divided into 5 tabs will appear based on the filter creation method: simple, intermediate, advanced, SQL, and combined. These are the available methods to choose from to create a filter.
Once a filter is created using one of the indicated methods, it will only be possible to modify it in that same method. For example, if a filter is created in Simple mode, it can only be modified in Simple mode, not in Intermediate or Advanced.
1) Simple mode
The filter creation tab in Simple mode looks like this:
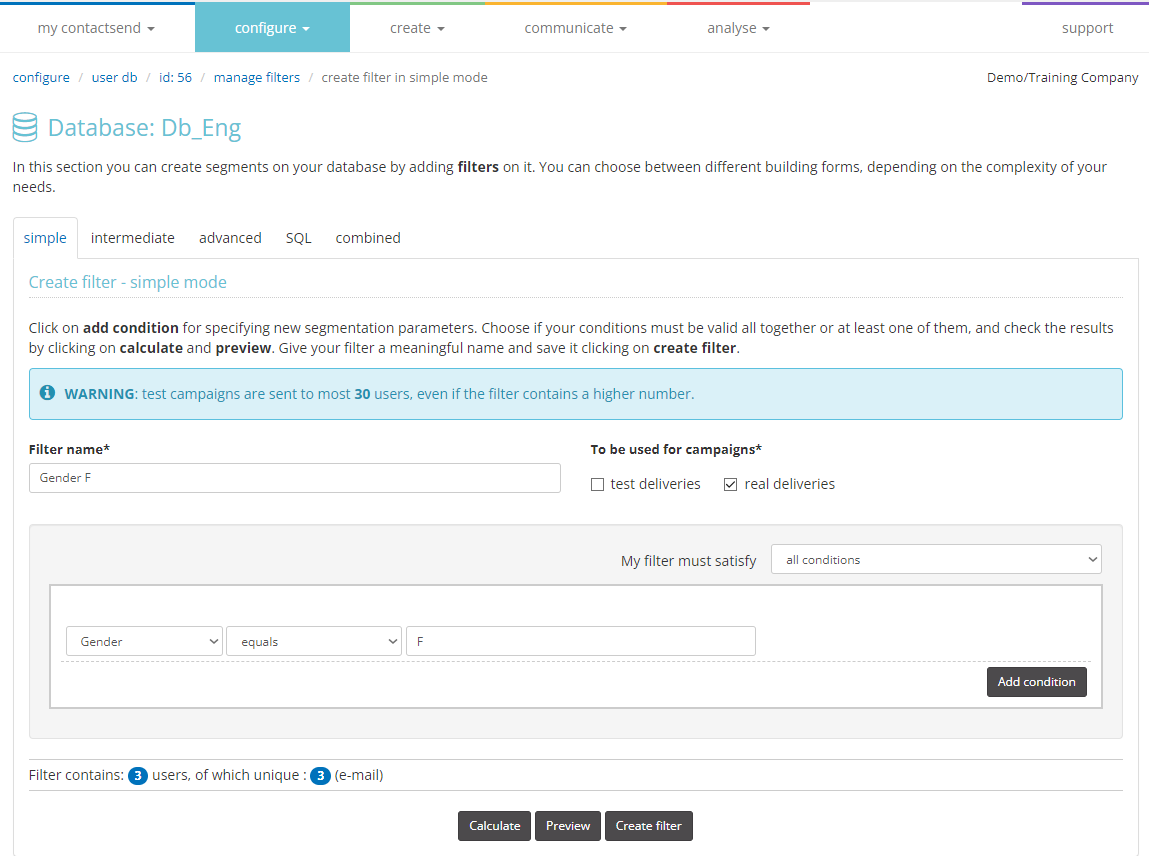
From the drop-down menus, set the conditions that users must meet to be included in that filter. In this example, all users with the field Gender equal to F will be included in the filter. In Simple mode, you can set up to 10 conditions: for filters that require more conditions, it is recommended to use the other modes.
If the filter will be used for real campaigns, select the real deliveries checkbox; if the filter contains addresses to be used for test sends, select test deliveries. This way, the test filter will appear in the appropriate drop-down menu at the end of the send creation process.
If more than one condition is entered, choose from the appropriate drop-down menu "My filter must satisfty"
- all conditions: if the target must meet all the specified characteristics (e.g., gender = F AND language = ITA)
- at least one condition: if the target does not need to meet all the conditions but at least one (e.g., email = mario.rossi@gmail.com OR giovanni.bianchi@gmail.com).
Clicking Calculate will show how many total users match the filter conditions and how many unique users (excluding duplicates).
Clicking Preview will display 10 sample records to allow verification of the results.
2) Intermediate mode
This mode is convenient if your database contains many records with fields that have identical values: for example, in "gender" or "region," there will be only a few possible values (2 for the gender field and 20 for the region field), and each of these values will be associated with a large number of users.
Before using the intermediate mode, it is necessary to set up the filter fields in the database.
To do this, from the database control panel, click Field Management. From here, choose the fields to use and check the "filter" box. Use only fields with low cardinality (few values distributed across many users) and not fields with all different values (so "firstname," "lastname," or "address" are not suitable). See the Configuration section.
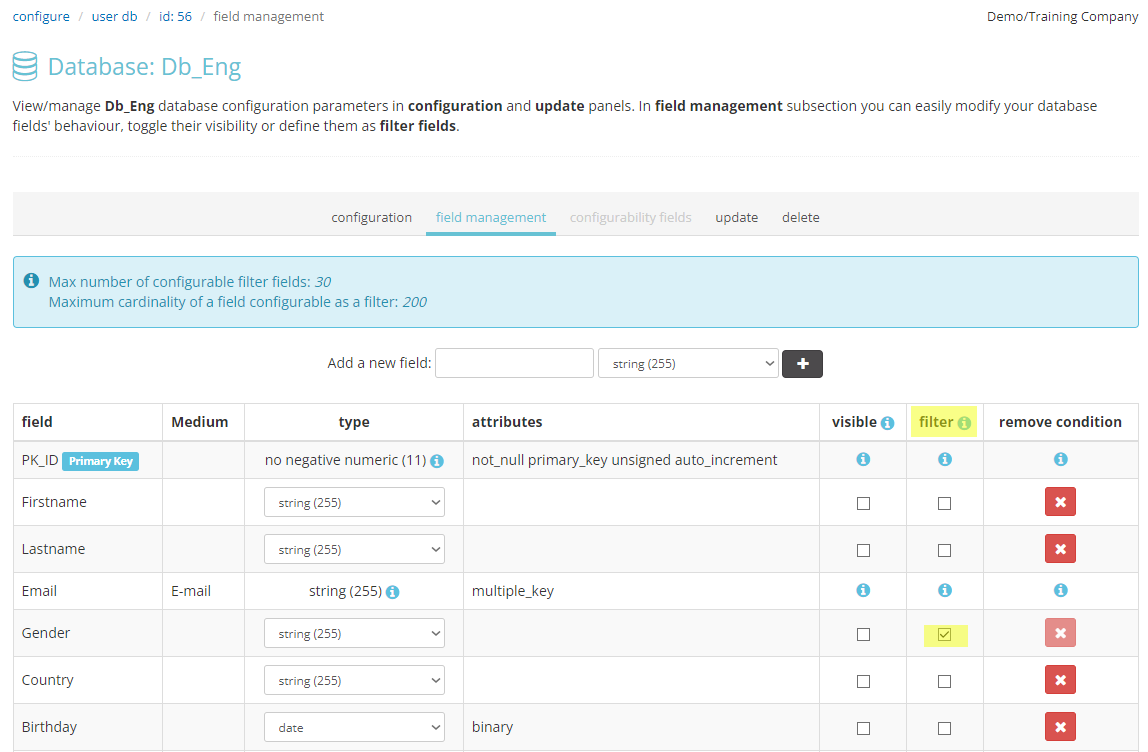
At this point, go back to filter management > create new filter. Selecting the intermediate mode will show a screen like this:
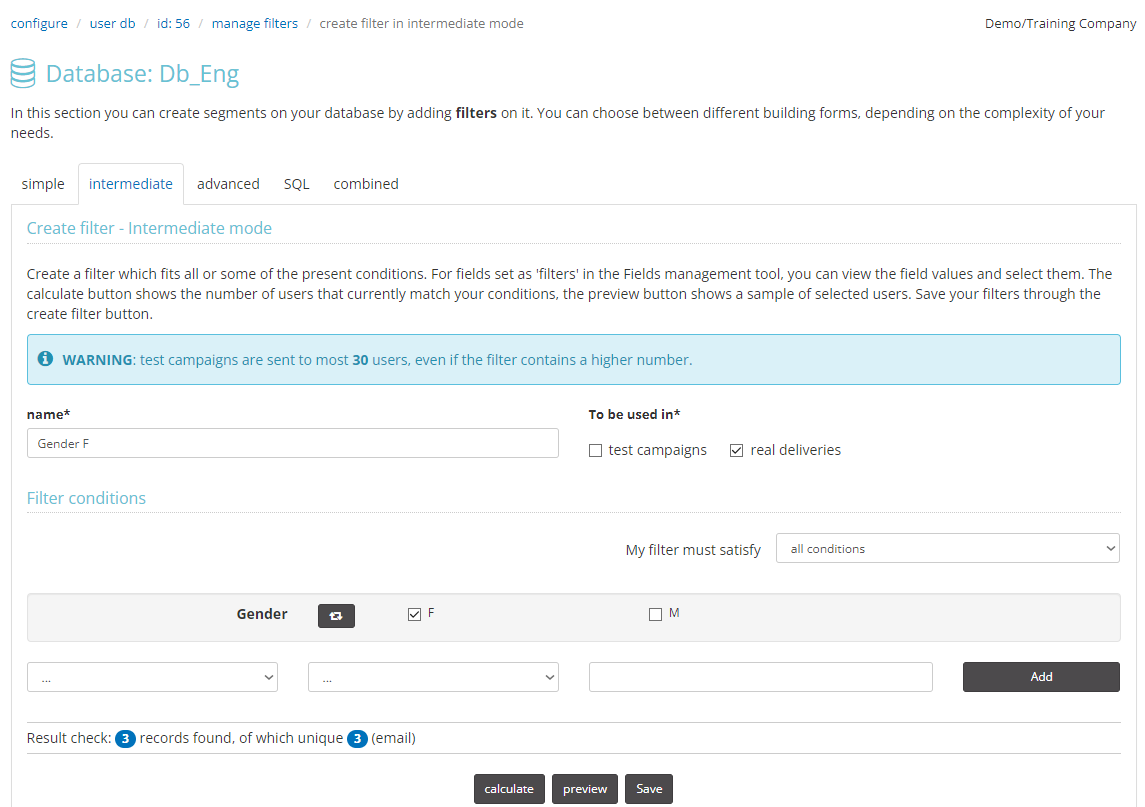
In the example, note how much more convenient and faster it is to set up a filter for all female users. Simply select the relevant boxes and choose, as in Simple mode, whether the filter must meet all or at least one of the conditions.
3) Advanced mode
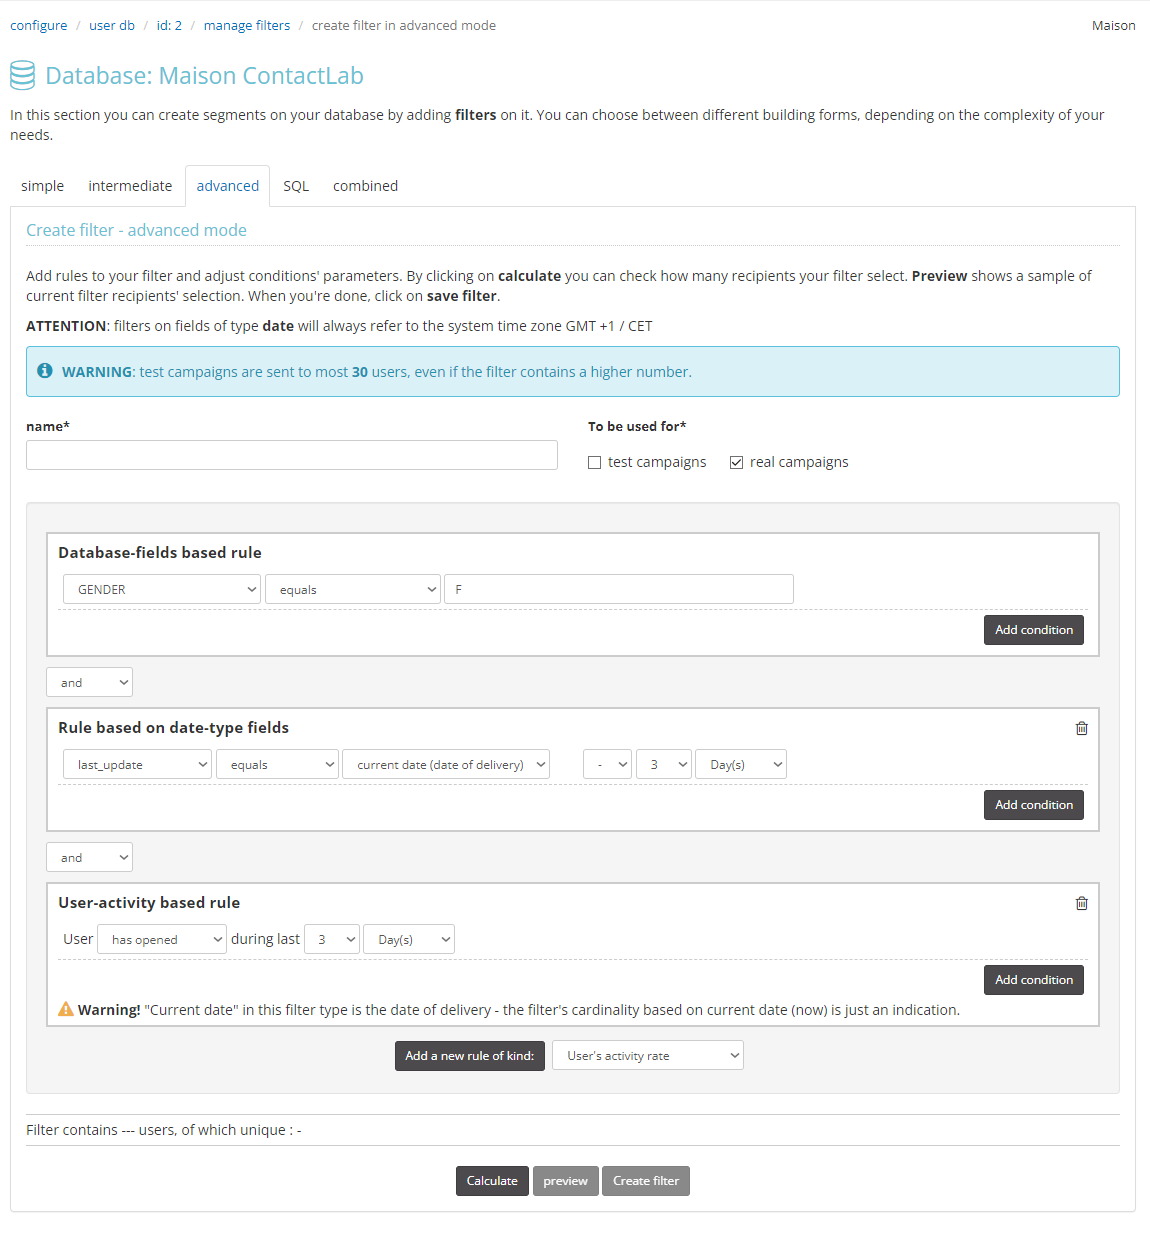
This mode allows you to add three different types of rules:
- on all database fields
- on any entered date fields
- on user activity monitoring fields (if enabled)
By combining conditions and rules, you can create complex filters without resorting to SQL syntax: for example, filters based on birth dates to send birthday greetings, or on registration dates to manage welcome emails. You can use both AND and OR conditions.
4) SQL mode
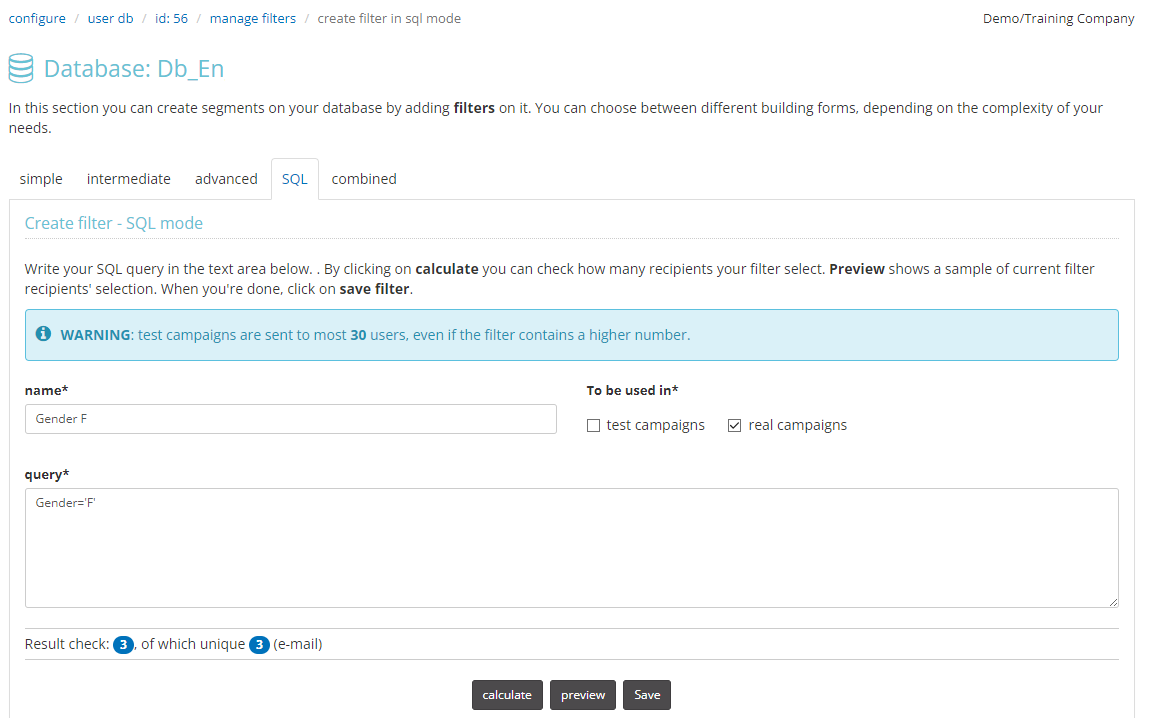
In this mode, you can directly enter the SQL query to set the filter conditions. It is obviously necessary to know the correct query syntax to set the filter correctly. The query performed is always a SELECT, so there is no need to specify it.
5) Combined
In this mode, you can combine previously created filters (using AND, OR, or EXCEPT). Choose from the drop-down menu whether the filter must meet:
- all selected filters
- at least one of the selected filters
- the first selected filter and exclude all other selected filters.
Add all relevant filters from the drop-down menu below.
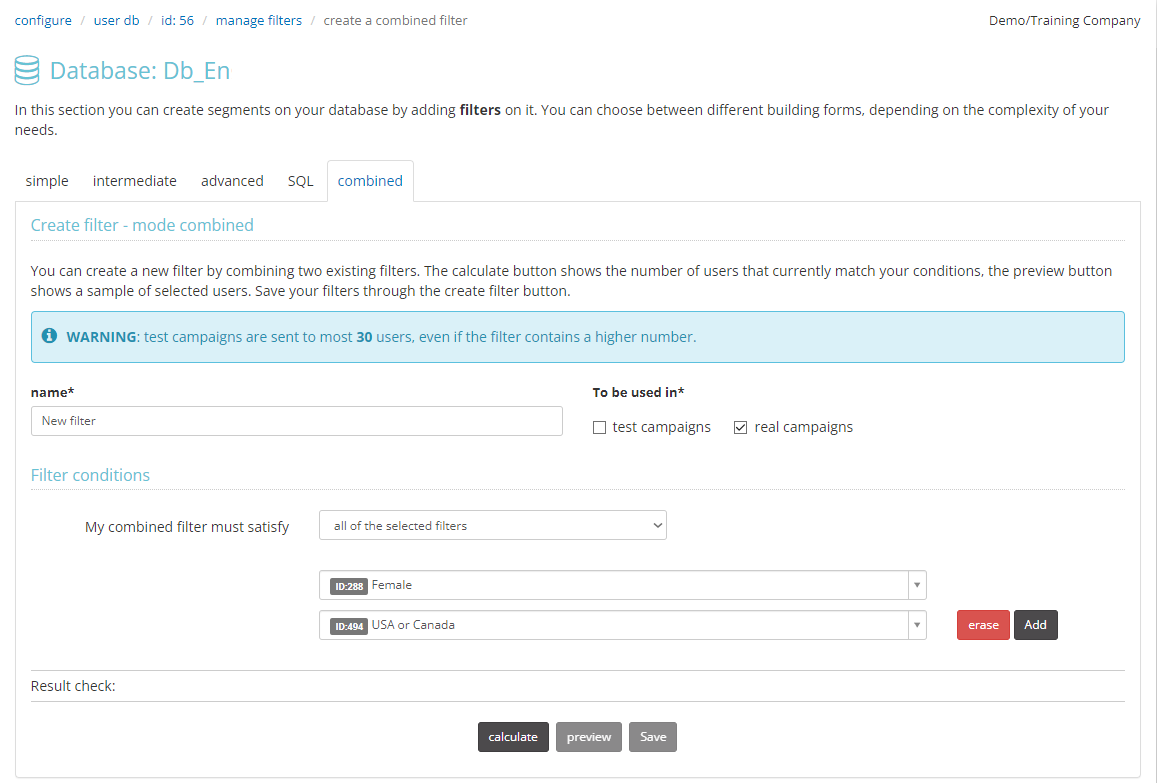
The combined filter is not dynamic. Even if one of the filters that make up the combined filter is updated, the combined filter will remain unchanged.
Manage filters
To access the list of created filters, click the appropriate button in the top right corner of the DB control panel.

Filters can be copied, archived, and deleted by clicking the appropriate button next to the filter or by mass selecting multiple filters.
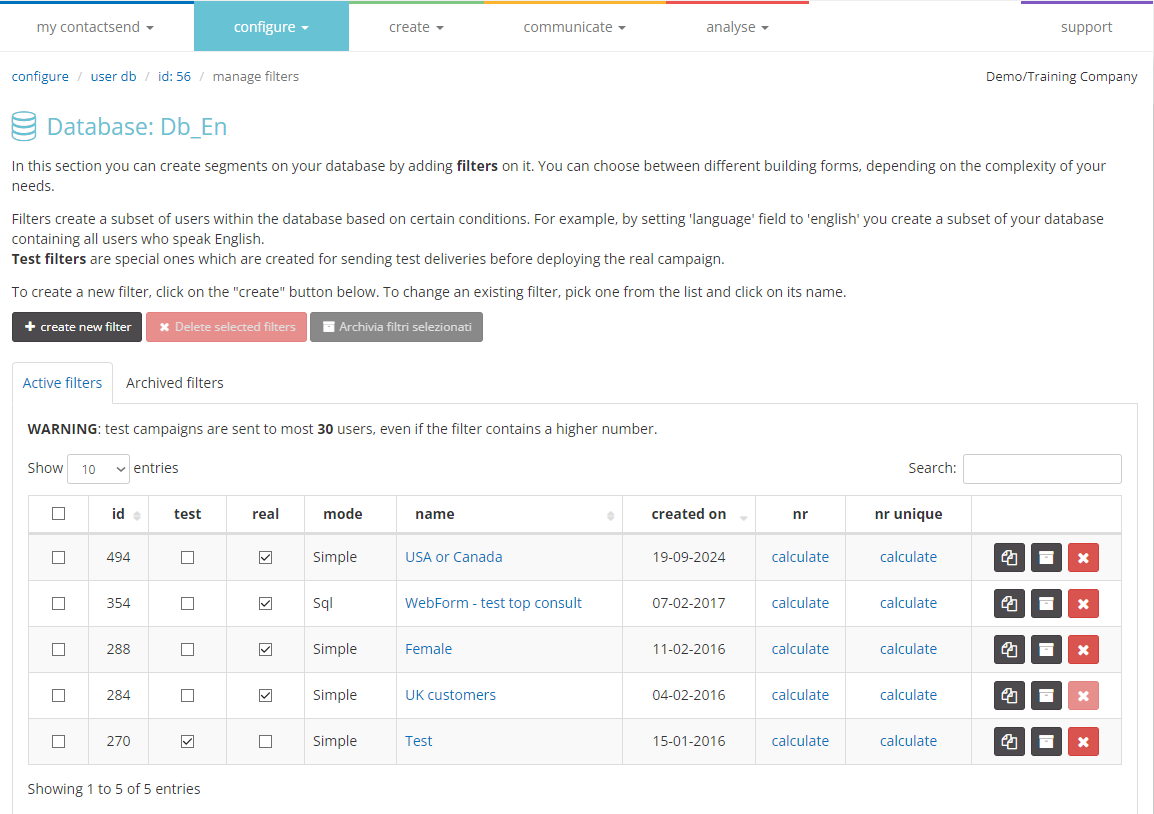
Clicking on the filter name will take you to its control panel. From here, you can search for, view, and request the download of the list of users matching the filter. Additionally, you can use the marking, quality control, data cleaning, and column update tools for users belonging to the selected filter only, not the entire database.
