Conditional template
Introduction
With Email Designer, you can customize content based on specific target audiences, ensuring more effective and personalized communications.
Thanks to this feature, each recipient will receive a tailored email.
Setting up a conditional template is simple.
The steps are:
- Associate a database with the template.
- Select the row and set one or more conditions (or filters).
Associating a Database with the Template
To associate a database with a template, go to the template gallery, find the desired template, hover the mouse over the thumbnail, and press the "User Db" button.
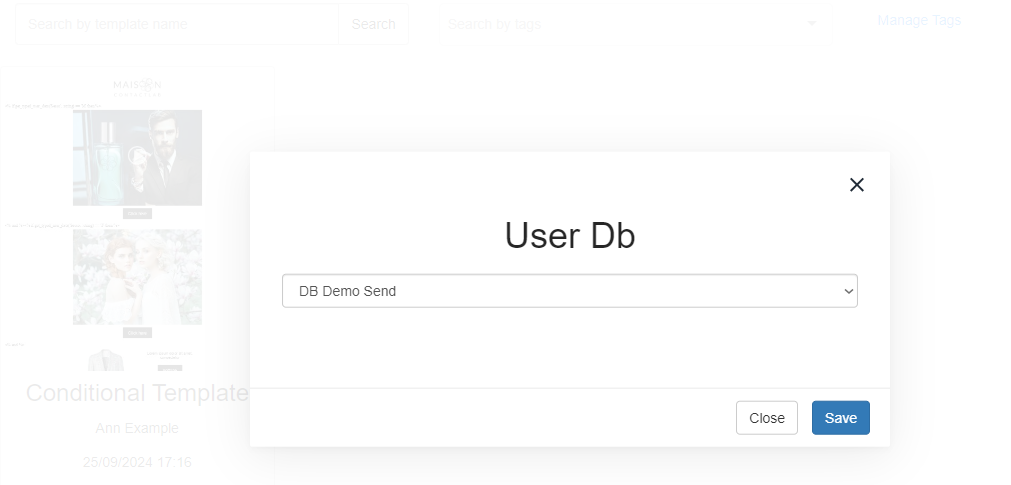
A list of available databases will appear. Select one. The successful association, or the presence of one, is indicated on the template card within the gallery.
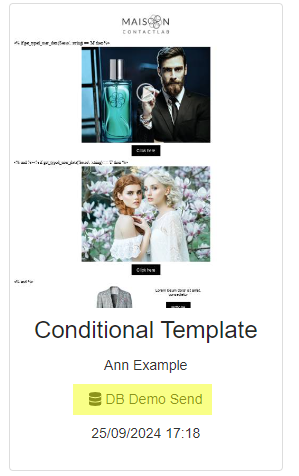
To remove the association, perform the reverse operation. Click the "User Db" button again and select the first option in the menu, which has no associated User Db (blank row).
Duplicating a template that is already associated with a database will retain the association in the duplicate. Also, when sharing a template with any sub-companies, the template available to them will lose the database association.
Setting One or More Conditions
Once the database is associated, access the template by clicking the "Use" button.
At this point:
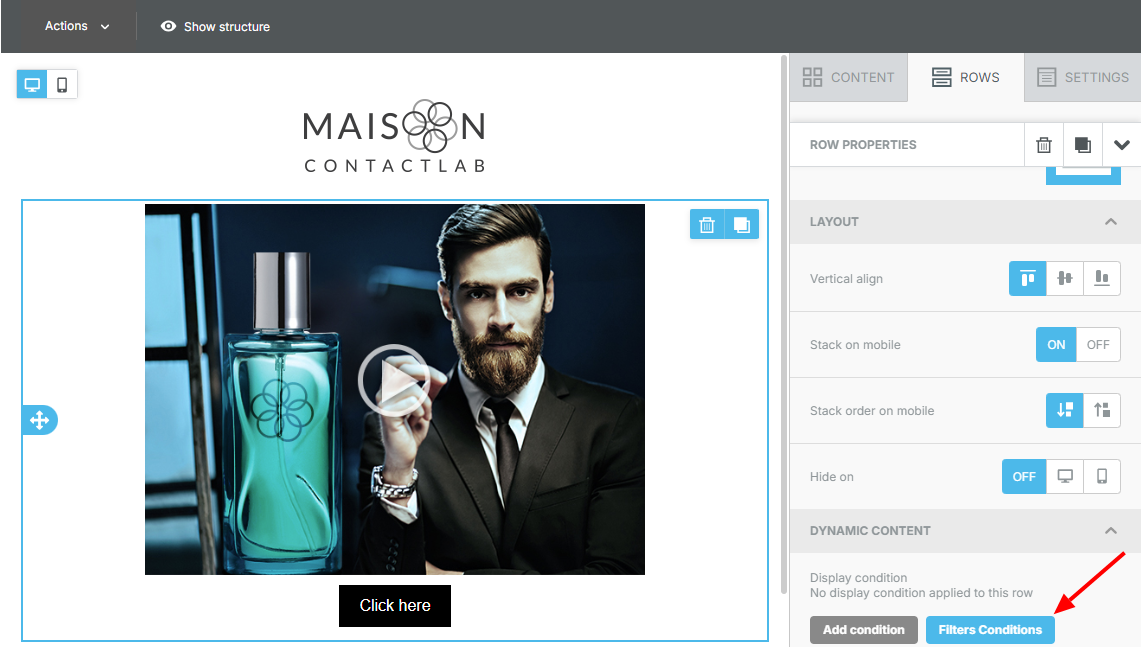
- Identify the row you want to act on and select it.
- In the right-hand menu, under the "Dynamic Content" section, click on the "Filter Conditions" button.
-
Click on the "Add New" button to add a new condition (or filter).
-
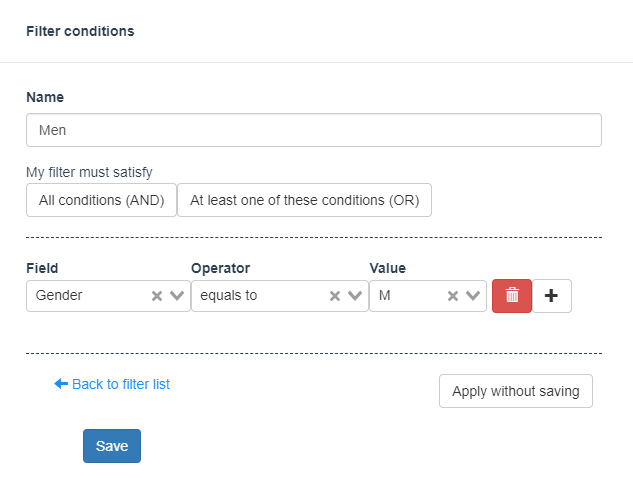
Assign a name to the filter.
-
Specify whether all conditions must be met (AND) or at least one (OR).
-
In "Field," select a field from the database (e.g., gender).
-
In "Operator," select the relational operator (equals, does not equal, contains, does not contain, greater than, less than, empty, not empty, null, not null).
-
In "Value," select the desired value from the dropdown menu. The system suggests up to 1,500 actual values present in the field within the User Db under consideration. You can also manually enter a desired value.
-
Once finished, save the filter or apply the filter without saving it.
-
The editor will then display the full list of saved filters. Click the ✓ symbol to apply a filter to the row.
From this point on, that specific row will be displayed to each recipient according to the conditions associated with it.
Changing the User Db associated with a template does not remove any filters attached to the template's rows. You must manually remove the association, or the sending process may fail if the new User Db does not contain the same fields as the previous one.
Each filter can contain up to 10 conditions, and up to 50 filters can be configured.
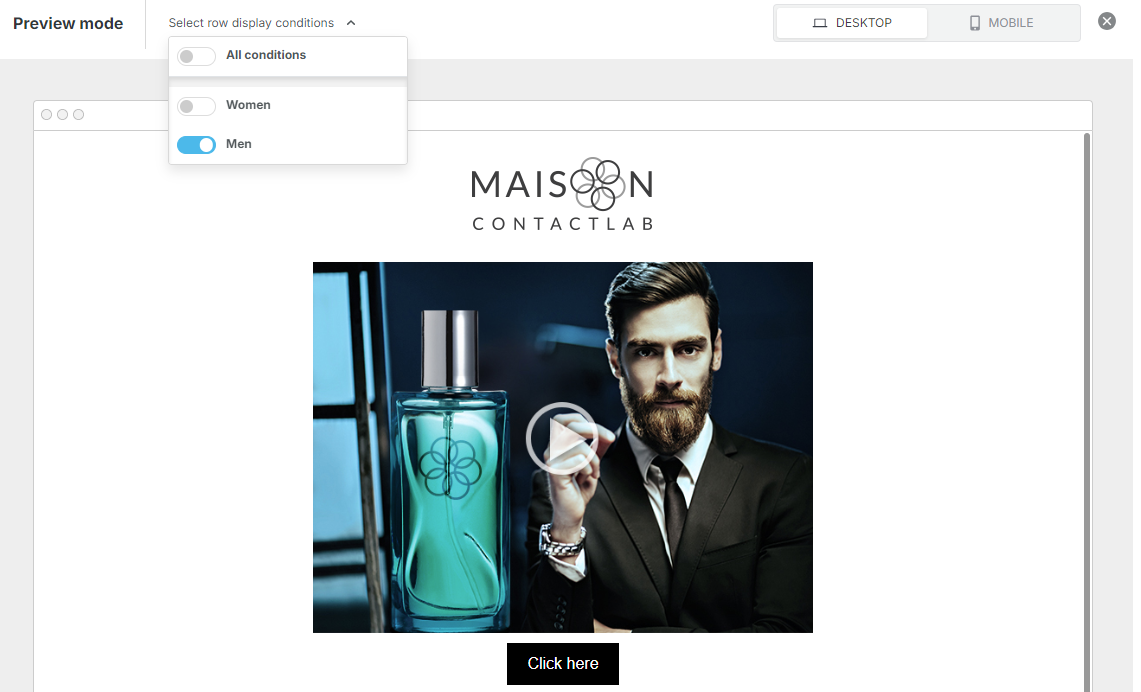
Template Preview with Conditions
To preview the template with its conditions, click on "Actions" > "Preview."

Under "Choose condition," toggle the relevant condition on or off:
