Email Designer interface
Opening Email Designer
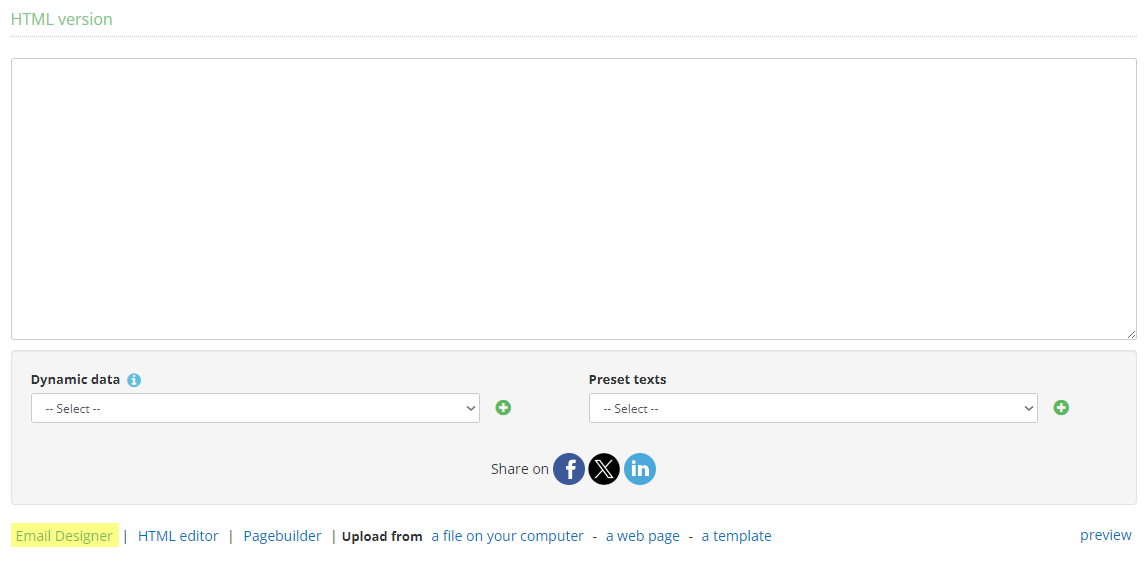
To open the Email Designer interface, click "Create" -> "Email Designer":

Alternatively, go to the "Create" section -> "Email campaign" and at the "Message Content" step, select "Email Designer":
Template Gallery
In the template gallery, you can view the templates created in the workspace.
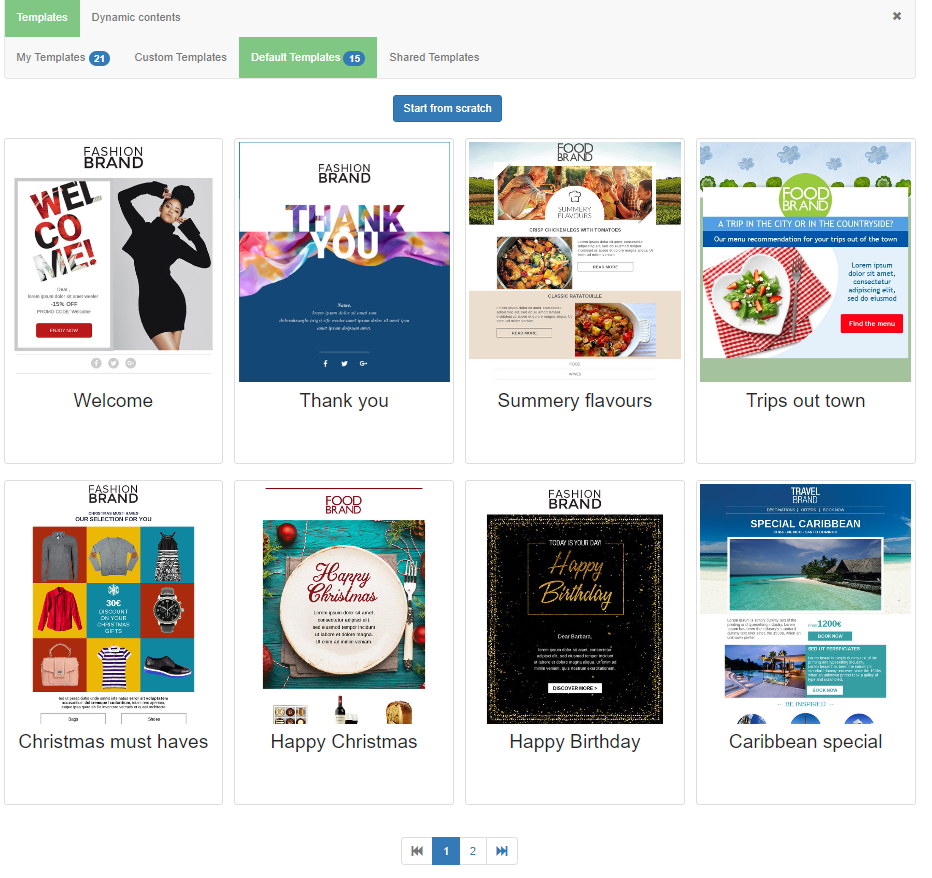
At the top, you will find four tabs:
- My Templates: templates created by the user.
- Custom Templates: templates custom-made by Contaclab's Agency.
- Default Templates: predefined models to use as a starting point.
- Shared Templates: available only for companies that have received sharing from their parent organization.
Default and custom templates cannot be renamed or deleted. They can be modified but must be saved with a different name and will appear in the "My Templates" collection.
You can open, rename, duplicate, associate a database, add a tag, share, download, or delete a template by hovering over the template thumbnail and selecting the desired action.
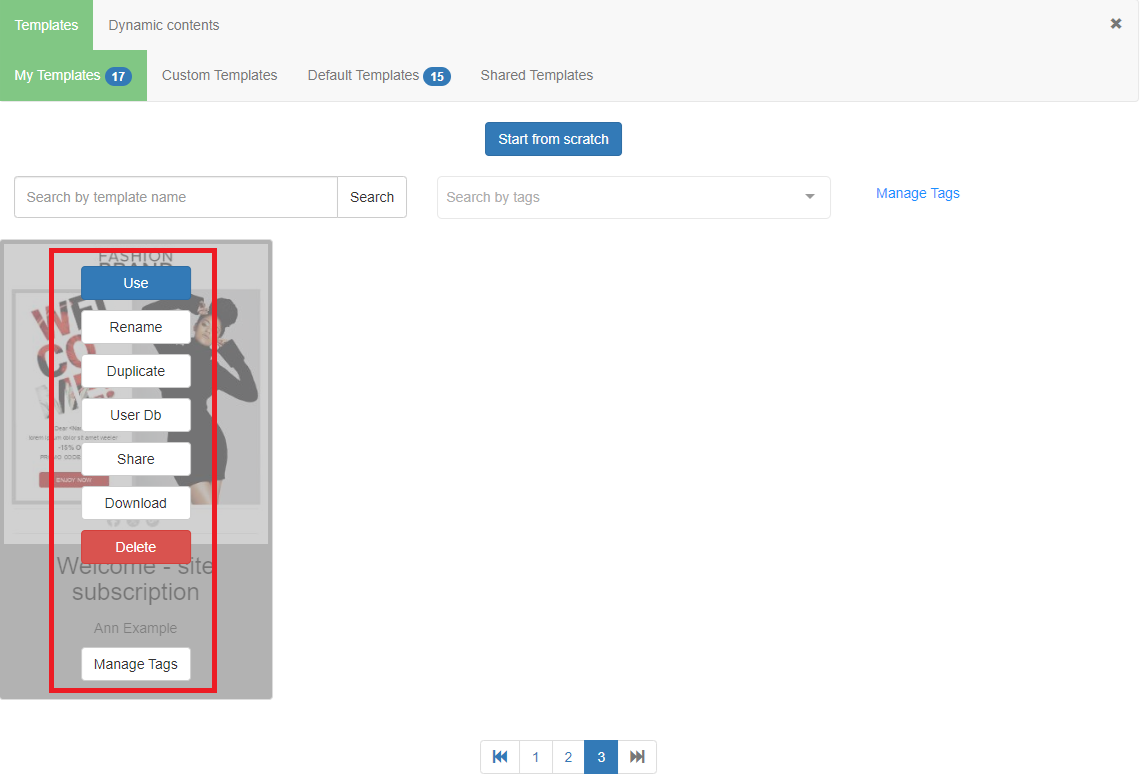
Use
Click on "Use" to open the selected template. The editor will open in content editing mode.
Rename
To rename the template.
Duplicate
To duplicate the template.
User Db
To associate the template with a database. This association facilitates the insertion of dynamic fields within the template and the creation of conditional templates.
Share
If associated companies are hierarchically organized on the platform, the parent company can share a template with its child companies as follows:
-
Ensure you are logged in to the parent company in Send.
-
Create a new template or modify an existing one as usual, then save it in "My Templates."
-
Hover the mouse over the template image to display the action buttons and click on Share.
-
A confirmation window will appear; click "Share" again.
-
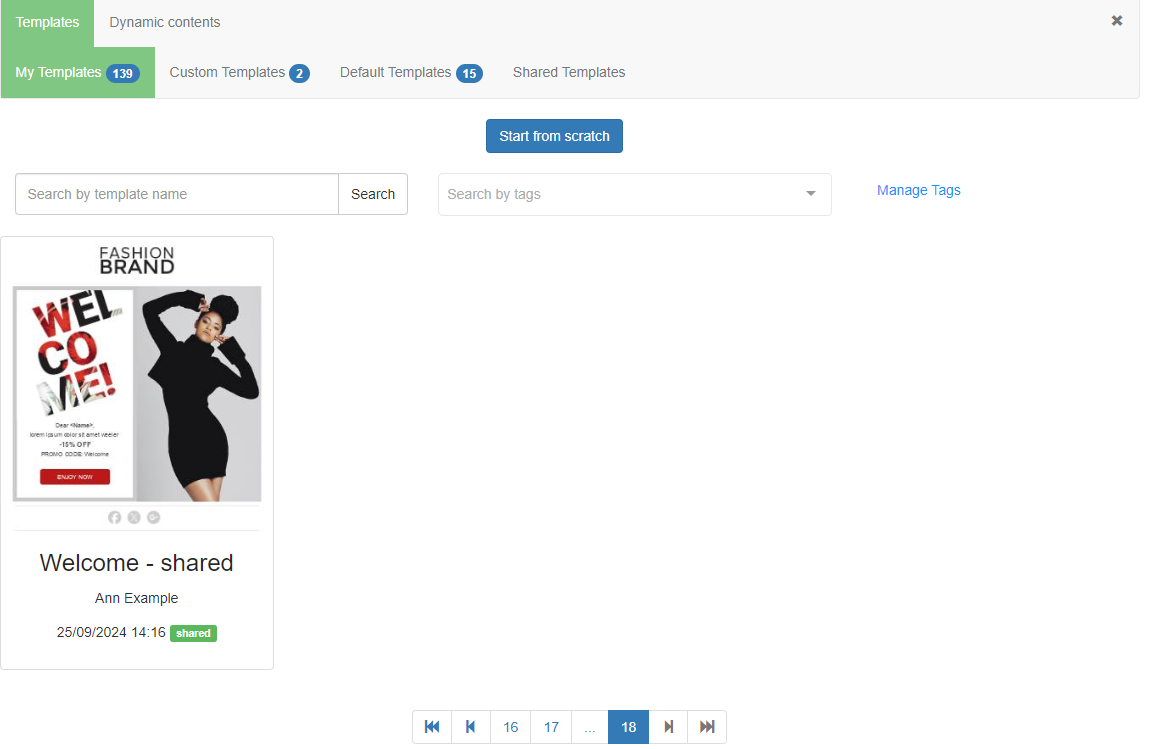
The original template will be marked as Shared in the "My Templates" repository of the parent company.
-
The template will be added to the shared templates tab for every child company.
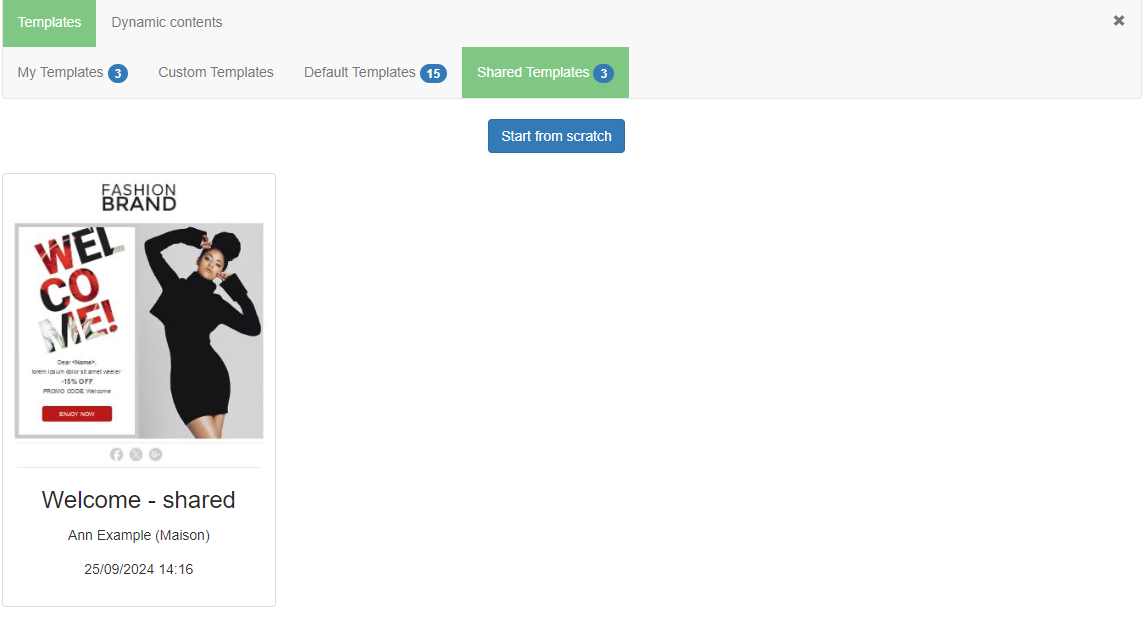
Stop Sharing a Template
To stop sharing a template, follow these steps:
- Hover the mouse over the template image in the "My Templates" section of the parent company to display the action buttons.
- Click on Stop Sharing A confirmation window will appear; click "Stop Sharing" again.
The shared template will be removed from the shared templates tab of each child company, and the original will no longer be marked as shared in the "My Templates" repository of the parent company.
If a shared template is deleted from the "My Templates" repository of the parent company, it will also be removed from the shared templates tab of each child company.
Download
To download the HTML of the template.
Delete
To permanently delete the template.
Manage Tags
You can search for a template by name and/or by tag (if both are used, the result will apply the AND operator).

You can also click on "Manage Tags" to add or remove a tag.
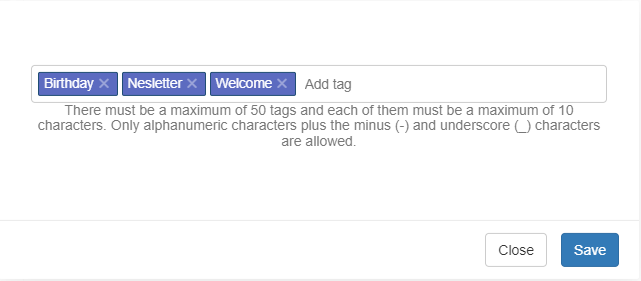
There must be a maximum of 50 tags and each of them must be a maximum of 10 characters. Only alphanumeric characters plus the minus (-) and underscore (_) characters are allowed.
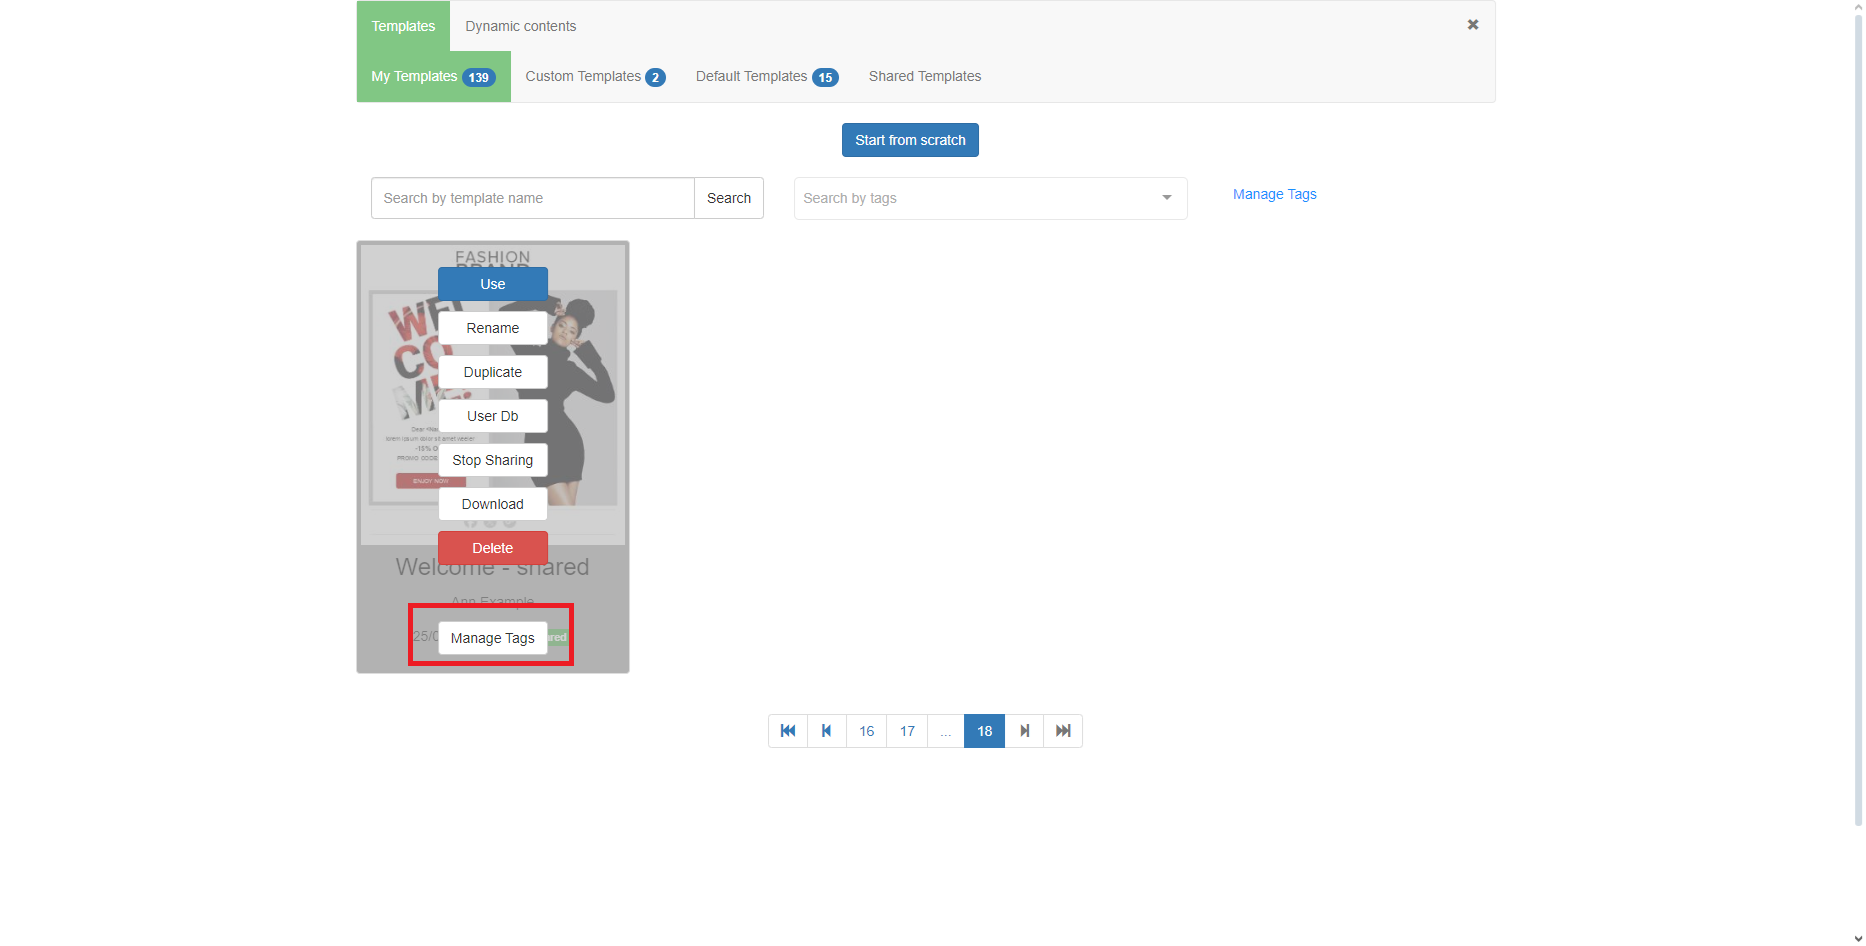
To associate a tag with a template, hover the mouse over the template thumbnail and click on Manage Tags.
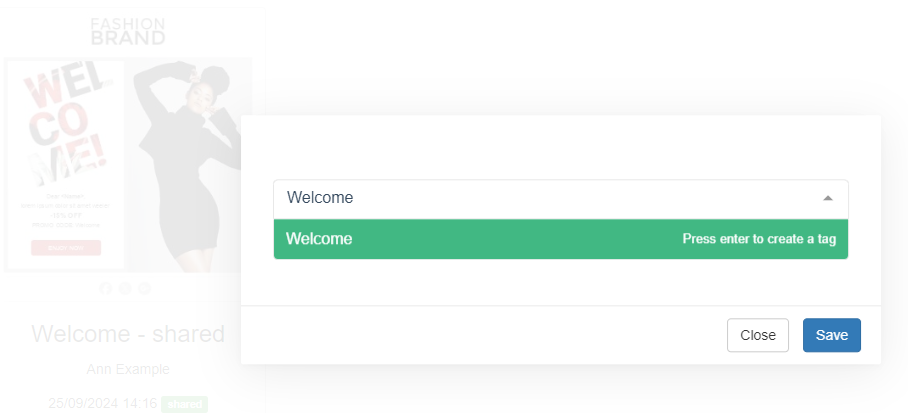
Then, type the name of a new tag and press Enter (or select an existing tag). Finally, click save.
The Editor
This intuitive and feature-rich interface makes creating professional emails simple and fast, ensuring effective and personalized results for every marketing need.
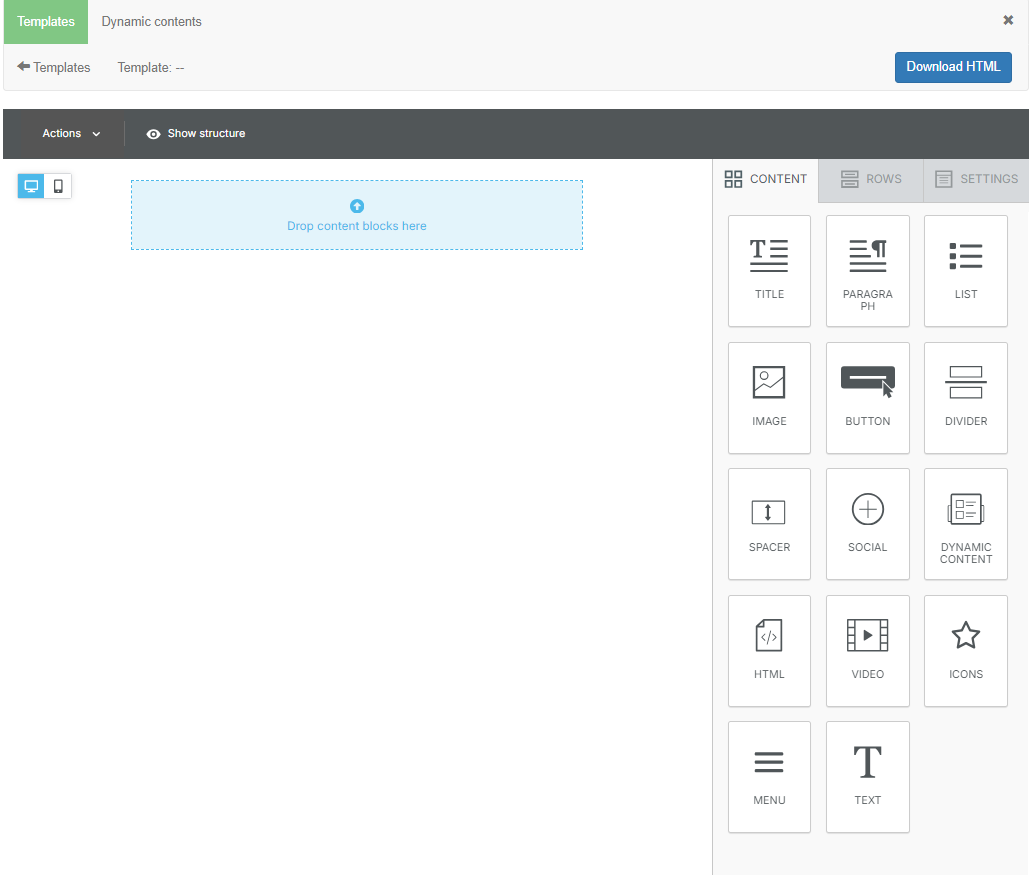
At the top of the interface, there is a black bar with the "Actions" and "Show Structure" buttons.
In "Actions", you will find the following options:
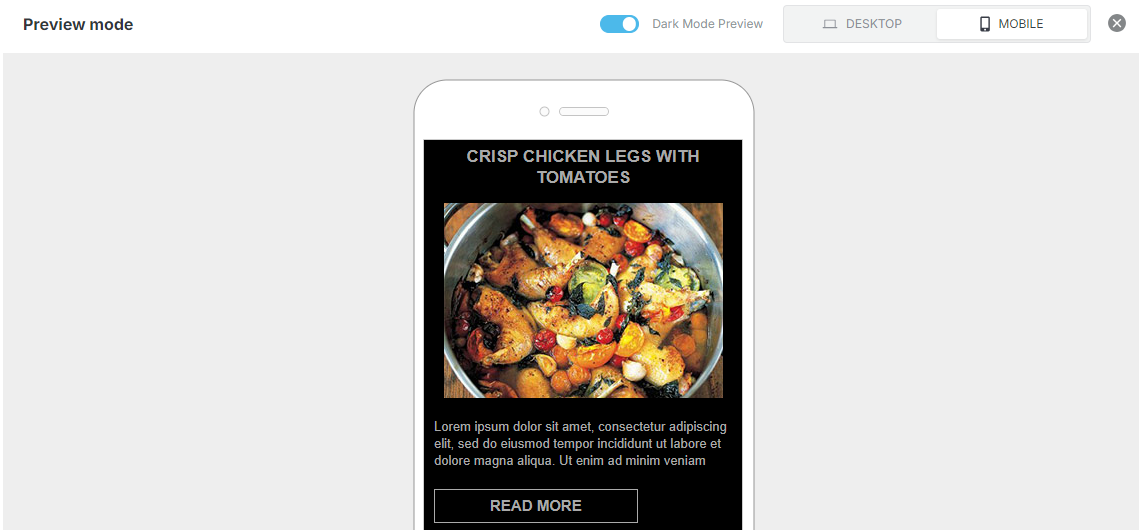
- Preview: allows you to view the template in both desktop and mobile modes.
You can also enable the Dark Mode Preview option to identify potential design elements that might not render correctly in "dark mode." This is an approximate estimation, so it is recommended to perform additional test sends.
-
Send test: to send a test email and verify the layout.
warningA prerequisite for sending a test is that an immediate delivery with the alias "Email-Designer-Test-Delivery" must exist.
-
Save as template: to save the template.
The Show Structure button allows you to analyze the structure of the template in detail, offering a clear view of the organization of the various elements.
In the center of the screen is the main workspace, where you can drag and drop various content blocks and customize the contents.
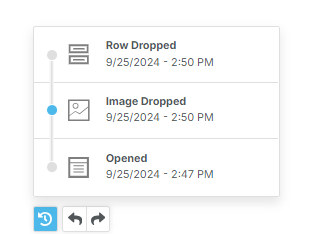
At the bottom left, there are three icons that allow you to undo the last actions:
At the top left, there are two icons: desktop and mobile, which allow you to optimize the template design for both desktop and mobile.
On the right is a panel divided into three tabs: Content, Rows, and Settings, each with specific functions to enrich the template.