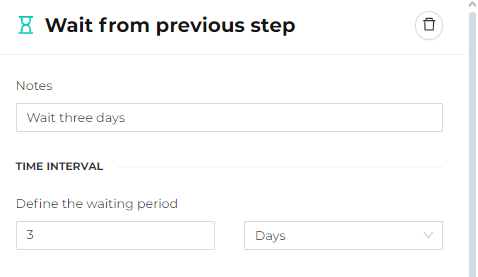
Add delay step
The Wait step adds a delay after the previous step. It can be used to define a time interval before sending two separate emails (e.g., a welcome series).
It can also be used to start an automation with a delay if, for example, there is a need to wait before sending an email.
To proceed:
-
Select the Delay > Wait from previous step option.
-
Enter the Notes, which is a brief descriptive explanation of the configured step.
-
Define the waiting period, for example, 3 days.

-
Click Apply to save the changes.