Saved Rows
Template rows can be saved for future reuse. It is possible to proceed as follows:
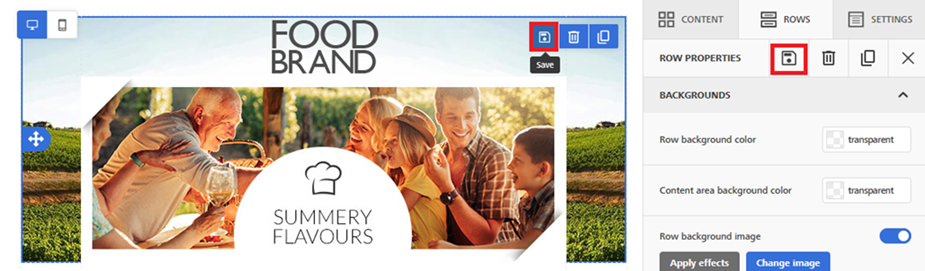
- Create a row by inserting images, text, buttons.
- Select it and click Save within the row itself or, from the right-side box Row properties, click Save.
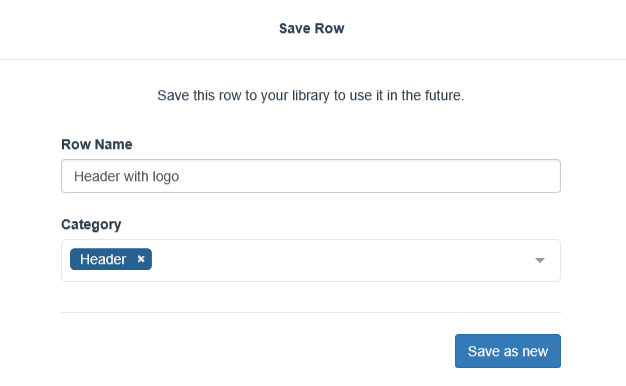
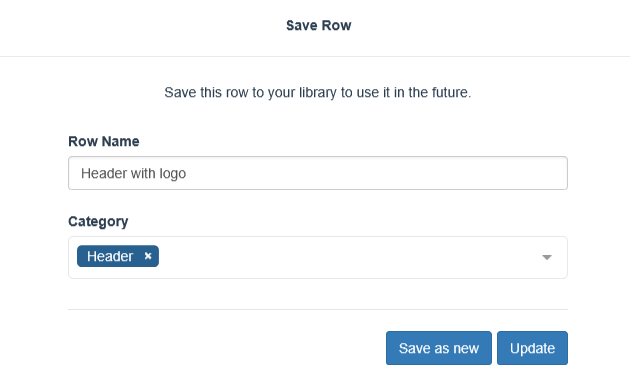
- Assign a name and a category to the row (required fields). If no categories have been created yet, a new one can be added by clicking submit.
- Finally, click Save as new.
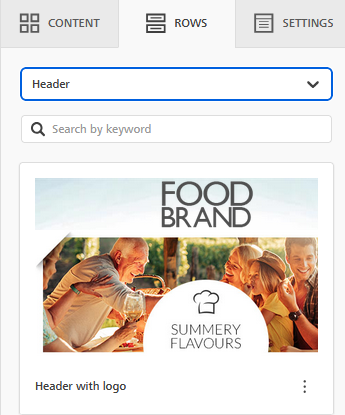
- The saved row will be available in the Rows tab, where all created categories can be selected from the appropriate dropdown menu.

To insert a saved row:
- Select the category of interest; all saved rows will be displayed.
- Use drag &drop to select and insert the desired row into the template.
warning
A maximum of 40 categories and 200 rows can be created.
How to edit and manage a row
A row can be edited, renamed, deleted, and/or assigned to a new category. To proceed:
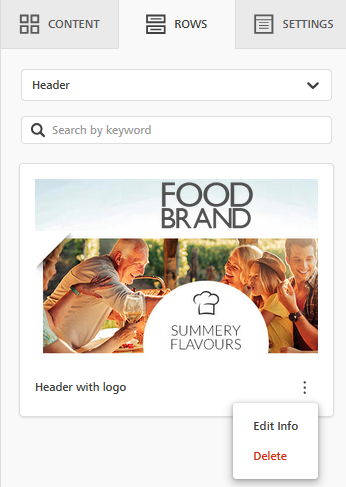
- Click the Rows tab.
- Select the category of interest.
- Click the three-dot icon and choose:
-
Edit info to rename the row or assign a new category.
-
Delete to permanently remove it from the library. Rows already used inside emails and templates will not be deleted.
-
To edit the content of an inserted row:
- Select it and click Save.
- Choose whether to Save as new or Update using the appropriate button.
warning
The changes made will not extend to emails or templates that use that line.
How to edit and manage a category
Categories can be updated or deleted from the Rows tab by selecting the Manage Categories option.

In the next screen it is possible to:
- add a new category;
- edit an existing one by clicking the first edit icon;
- delete a category by clicking the second icon with the trash bin.

warning
If a category is deleted, all rows belonging to that category will also be deleted.